Showing posts with label vegan. Show all posts

Friday, 23 November 2012

fennel, radish & apple salad


Yesterday was one huge Thanksgiving dinner, cooked by moi.

My sister Shamu and her man, Tombolina, came over and I spent the entire day preparing for the feast.

It was one of those cooking days where everything just fell into place. I cooked recipes simultaneously based on time and need, and managed to balance pie pastry with turkey brining, yam basting with dressing prep, cocktail making with vegetable slicing.

I even managed to completely clean the kitchen before Jonas got home and my guests arrived (Jonas was particularly pleased he dodged that bullet).

To be honest, it was the first time in my life when I managed to be so zen and organised when cooking a huge meal. I was very, very proud of myself.

Gold star please!


A “Spiced Scrumpy” cocktail kicked the evening off, then the menu combined Americana favourites, modern twists and some Thanksgiving classics:

Pear & Scallop Squash Soup
Texan BBQ Turkey Shanks
Sausage & Sage Dressing
Fennel, Apple & Radish Salad
Maple, Bourbon & Sesame Candied Yams
Greens Simmered in Chicken Stock w Onions & Garlic
Chocolate Pecan Pie & Vanilla Ice Cream


Every recipe was new – untried, untested – and every single one was a great success. I was so pleased with the way the food turned out.

Today I’m going to share with you one of the recipes: this autumnal salad of pretty pinkish hues and fresh, tangy flavours.

The original recipe used Jerusalem artichokes (aka sunchokes), but I was unable to source them in the Sydney spring weather. Nonetheless, the salad added a perfect refreshing balance to some of the other heavier dishes.


Fennel, Radish & Apple Salad

Based on a recipe from The Flexitarian Table by Peter Berley. Serves 4-6 as part of a buffet.

Ingredients:
4 radishes, trimmed
2 gala apples, peeled and cored
2 small fennel bulbs, trimmed
¼ cup extra-virgin olive oil
2 tablespoons fresh lemon juice
1 tablespoon white wine vinegar
1 tablespoon chopped fresh chives
1 teaspoon chopped fennel fronds
Salt and pepper to taste

Method:

1. In a bowl, whisk together oil, vinegar and lemon juice to make a smooth vinaigrette. Season vinaigrette with salt and pepper to taste.

2. With a super sharp peeler or mandolin, shave radishes, apples and fennel into wafer thin slices.

3. Toss vegetables in vinaigrette then cover and refrigerate for at least 30 minutes or up to 1 day, to allow the flavours to come together.

4. Just before serving, add in chives and fennel fronds. Taste, then season with salt and pepper as required.


Sunday, 29 July 2012

apple-cucumber pickles: a taste of yellow


I was really sad to hear that Barbara of Winos and Foodies had lost her battle with cancer.

She was such a lovely lady and I had the pleasure to finally meet her face-to-face last November at the Australian food bloggers conference: Eat Drink Blog.

Barbara’s one wish was to eat a piece of her 87th birthday cake, but unfortunately she passed away before she made the date. This sad wish very much reminds me of losing my mum.


After being diagnosed with a brain tumour, two surgeries, radiotherapy and chemotherapy didn’t seem to help and although we wouldn’t admit it, we both knew she wouldn’t win this battle.

One day, cuddled up in bed with a cup of tea, I said “You won’t ever get to meet my children, and you won’t be at my wedding, but promise you’ll make my 21st birthday.” She swore she would.

She kept her promise. When the clocked ticked over midnight to mark my birthday, I whispered to her that she had kept her promise and, at 4am on my 21st birthday, she passed away.

That was eleven years ago and not a day goes by that I don’t think of her and shed quiet tears.


To commemorate Barbara, and our loved ones who have had cancer, bloggers are taking part in the Taste of Yellow Monthly Mingle, hosted by London-based South African, Jeanne from Cooksister.

This event requires us to make something yellow, combing Barbara's LiveStrong with a Taste of Yellow event (a yellow themed cooking event that took place on LiveStrong Day) and the Monthly Mingle event by Meeta from What’s For Lunch Honey?

I used to participate in Meeta’s Monthly Mingle quite a lot, but life just seems to get in the way of blogging these days (if you hadn’t already noticed the big gaps between my posts). I should put more effort in again, as cooking and sharing my recipes is one of the things I truly love to do. It’s an artistic expression that I value in my life and I shouldn’t let work and other mundane matters prevent me from pursuing this.

Barbara has reminded me, again, that you should focus on what you love because life is too short and unpredictable not too.


I discovered these quirky heirloom cucumbers at my local farmers market back during Sydney’s summer, so it’s a recipe I’ve had up my sleeve for some time, waiting for the right moment to post it.

Apple cucumbers, as you can see, are round, yellow skinned types with creamy white flesh. They are very crisp and juicy, perfect for pickling, but their skin is a little tough so slice thinly.

Cucumbers are more than 95% water and are technically a fruit, with most of the flavour in the seeds. Apparently they’re one of the oldest veggies in the world, having been cultivated for thousands of years in Asia.


Heirloom Apple-Cucumber Pickles

Anna’s very own recipe.

Ingredients:
4 apple-cucumbers, sliced
1 shallot, sliced
¾ cup apple cider vinegar
¼ cup water
1 teaspoon salt
2 tablespoons sugar
1 tablespoon black pepper
1 tablespoon yellow mustard seeds

Method:

1. Stuff the cucumber into a sterilised preserving jar.

2. Combine all the other ingredients in a saucepan.

3. Bring to the boil and simmer for 30 seconds to release the flavours of the spices.

4. Pour the boiling liquid over the cucumber, then seal the jar.

5. Cool to room temperature then refrigerate for 24 hours before serving.

Note: Keeps up to 2 weeks. Serve with smoked salmon, on hamburgers and sandwiches or in salads.

Sunday, 1 July 2012

smoked apple & chestnut ravioli w cinnamon apple butter


Back in 2007, a few days after our wedding, Jonas and I visited Rockpool, back in it's original iteration when it was one of Sydney's finest, and ordered their extensive degustation menu with premium matching wines. It still stands as the most expensive meal of my entire life, and with the same money we could have bought an overseas airfare and possibly accommodation. Don’t ask, suffice to say it was expensive.

But the memory was also priceless, as it was our wedding gift to each other and many of the dishes we ate on that evening have remained with us.

One in particular was an apple and chestnut ravioli, a dish served to Jonas in his vegetarian days. It was a confusion of sweet and savoury apple and cinnamon and herbs. A clever combination that was executed perfectly.

This year, as one of my 2012 Food Challenges, I decided I needed to recreate recipes I had experienced at restaurants. This was one of them, but I decided to put my own twist on it by using smoked apples, that I hot smoked myself in my Nipper Kipper smoker.


While it was a somewhat complicated recipe (a lot of steps to go through), I feel really rewarded for my efforts.

It was a very elegant dish and would be a big hit at a swanky dinner party.

Unfortunately for me, every shop I visited was out of wonton wrappers so when I finely found some they were square rather than round. Please go with the round versions, they will be much prettier.

And be sure to top your dishes with fresh herbs. They really cut through the intensity of the rich glaze sauce.

I used butter and chicken stock, but you could easily make this a vegetarian version with veggie stock or a vegan version with olive oil instead of butter and go with non-egg-based pasta.

Any leftover ravioli filling can be set in the fridge and eaten as a vegetarian paté.


Smoked Apple & Chestnut Ravioli w Cinnamon Apple Butter

Anna’s very own recipe. Serves 4.

Ingredients:

Smoked apples
2 green apples
Smoker
Wood chips

Ravioli
32 round egg wonton wrappers (for 16 ravioli)
2 tablespoons chopped sage
1 tablespoon butter
1 teaspoon smoked salt
½ white onion, chopped
1 garlic clove, chopped
1 teaspoon freshly milled black pepper
1½ smoked apple, chopped
100g chestnut purée
Butter for frying
Beaten egg, for sealing wonton wrappers

Butter Sauce
50g butter
1 teaspoon onion powder
½ teaspoon ground cinnamon
¼ cup verjuice
Sprig of lemon thyme, picked over
½ smoked apple, chopped
½ cup chicken consommé
¼ cup boiling water
1 teaspoon sugar
Black pepper
Salt
Fresh sage leaves, small and picked over

Method:

For the smoked apples

1. I peeled mine but left the core in.

2. Then I sprinkled about a tablespoon of dampened apple wood dust over some aluminium foil, placed my rack above it, then placed the two apples in and shut the top.

3. With the mentholated spirits lit, I removed the apples after about 20 minutes. This was probably about 5-10 minutes of heating up and 5-10 minutes of pure smoking.

4. When I removed them, they were warm, still fairly white and the outside was mildly soft but the inside was still hard.

5. I didn’t want to cook them any more than this as the smoke flavour would become overwhelming and somewhat acrid, ruining the balance of the dish.

6. Core each apple and chop into cubes: 1½ apples will go into the ravioli and ½ an apple will go into the sauce.


For the sauce

1. In a pan, heat the butter, onion powder, ground cinnamon, black pepper and salt until butter starts to brown and bubble.

2. Add verjuice and lemon thyme and bring to the boil.

3. Add apple, sugar, chicken consommé and boiling water, then bring to the boil and reduce for 5 minutes.

4. The sauce is done when the apple is soft and the liquid has reduced to a dark brown glaze (about ½ cup).

5. Keep warm while you cook the ravioli.


For the ravioli

1. Using a little butter, sauté onion and garlic until soft. Set aside.

2. Heating a little extra butter, add the sage leaves and heat until almost crispy. Set aside.

3. Using the sage-scented butter, add the chopped apples, smoked salt and pepper and fry until the apple is browned and soft.

4. Put the chestnut purée, cooked apple, onion and sage into the food processor and blend into a purée.

5. Line a tray or plastic container with baking paper, for the ravioli.

6. Lay wonton wrappers out on flat surface and brush with beaten egg (egg wash).

7. Put small dollops of purée on half the wrappers, then top them with the remaining wrappers, being sure the gently press out any air pockets when sealing them.

8. Lay the finished ravioli on the baking tray, with paper baking between layers to prevent sticking. Refrigerate for 5 minutes (to firm) or until ready to cook.

9. Bring a pot of salted water to the boil, then simmer ravioli until it rises to the surface and the pasta is cooked through.

10. Drain onto paper towels then plate, drizzling with sauce and apples, sage and thyme leaves.


Sunday, 15 April 2012

daikon braised in mirin & miso


My husband once had a crush on Alicia Silverstone. During his military service he spent long periods guarding supply stations with his comrades, watching Clueless over and over again. It’s an odd movie choice for a bunch of soldiers, but then again I suppose pretty girls in short skirts tick all the right boxes for bored, lonely boys.

What I hadn’t realised about Alicia Silverstone is that she’s a vegan and has written a cookbook called The Kind Diet. OK, so she “co-wrote” it with macrobiotic nutritionist Jessica Porter, but without Silverstone’s celebrity backing, utter dedication to veganism and regular recipe tweeting, I might never have discovered this amazing dish.

Boiled chucks of radish doesn’t sound like the most appetising meal, but it truly is fantastic.

The slabs of daikon soften, but they keep a toothsome texture and complex flavour that’s almost meaty. I defy omnivores not to raise their eyebrows in surprise at how wonderfully hearty such a simple vegetarian dish can be.

In order to meet one of my 2012 Food Challenges (cook with daikon), I adapted this recipe quite drastically, deciding to turn the braising liquid into a much richer concoction adding miso soup, rice vinegar and sesame.


Daikon braised in Miso & Mirin

Anna’s adaptation of a recipe from The Kind Life by Alicia Silverstone. Serves 4 as side.

Ingredients:
1 large daikon radish
20g red miso paste
60ml (¼ cup) mirin
40ml (2 tablespoons) light soy sauce
20ml (1 tablespoon) rice vinegar
20ml (1 tablespoon) white sugar
3cm x 5m piece dried kombu
5ml (1 teaspoon) sesame oil
1 tablespoon, toasted sesame seeds

Method:

1. Slice the daikon into 2cm-thick rounds

2. Place them in a large saucepan, or lidded pan, in a single layer

3. Add water almost to cover the daikon

4. Add the miso paste, soy sauce, mirin, rice vinegar, sugar and kombu

5. Bring the liquid to a boil over high heat, then reduce to very low, cover pan and simmer daikon for 30 minutes or until almost all liquid has been absorbed

6. Sprinkle braised daikon with sesame oil and sesame seeds


Sunday, 8 May 2011

braised purple heirloom carrots


These carrots were braised with white wine, garlic, thyme and chicken stock.

It was, simply put, quite delicious.


The gorgeous colour of the carrots added oompf to the visuals of meal and I’m sure there’s something marvelously healthy about all that purple pigment. Antioxidants or some such bafflegab.

Interestingly, the carrots leach their colour out so it looked like I'd used red wine. I didn't. Just plain old white wine. 

The flavours are intense of carrot, herbs and a touch of wine and as you can imagine this dish tasted beautiful alongside Grilled Goat Cutlets & Rhubarb Agrodolce Sauce.


Wine-Braised Purple Heirloom Carrots

Anna's very own recipe. Serves 4-6.

Ingredients:
700g heirloom carrots, sliced
1 teaspoon fresh thyme leaves, picked over
3 garlic cloves, thinly sliced
1 cup (250ml) white wine
¾ cup (190ml) chicken or vegetable stock
Freshly milled salt and pepper, to taste
1 tablespoon butter (optional)

Method:

1. Preheat oven to 180’C.

2. In an oven proof pot, heat the olive oil then add carrots, garlic and thyme.

3. Add salt and pepper to taste then stir, frying until garlic softens (around 5 minutes).

4. Add wine, then bring to a boil. Cook off alcohol for around 2 minutes.

5. Add stock, bring to a boil.

6. Cover pot, place in oven and braise until carrots have softened but still have some texture (around 10-20 minutes).

7. If you're not vegan, this is the point you add butter for a little extra richness. Stir to melt and combine. Serve dish hot.

Note: some people place a piece of baking paper on top of the carrots when they’re in the oven to retain moisture. I didn’t, but everyone’s ovens are different so use your judgement.


These beautiful heirloom carrots are my contribution to Weekend Herb Blogging, this week hosted by Astrid at Paulchen's Foodblog. Be sure to visit her blog for the round-up.


Wednesday, 12 January 2011

pickled cherries


Day 3 of Seven Days of Cherries

This couldn’t be a simpler recipe.

Pickled cherries are a fantastic accompaniment to rich game meat like roast goose, as the original recipe suggests.

Geese for eating aren’t very common in Australia and honestly I’ve never seen goose meat at any of the fancy butchers I’ve visited around Sydney, but there’s nothing stopping you serving these pickled beauties with roast duck or pork. Just as tasty and rich and also requiring a little acidity to cut through the fatty goodness.

Honk, honk! The geese will be pleased.

Pickled Cherries

Recipe from Australian Gourmet Traveller Magazine. Serves 6 as a side dish.

Ingredients:
500g cherries
425ml white wine vinegar
12 black peppercorns
350g caster sugar
3 bay leaves

Method:
1. For pickled cherries, place cherries in a sterilised jar and set aside.

2. Combine remaining ingredients in a saucepan, bring to a simmer over medium heat.

3. Cool, strain, pour over cherries, seal and refrigerate for 1-2 days, inverting occasionally.


Tuesday, 11 January 2011

cherry almond shake


Day 2 of Seven Days of Cherries

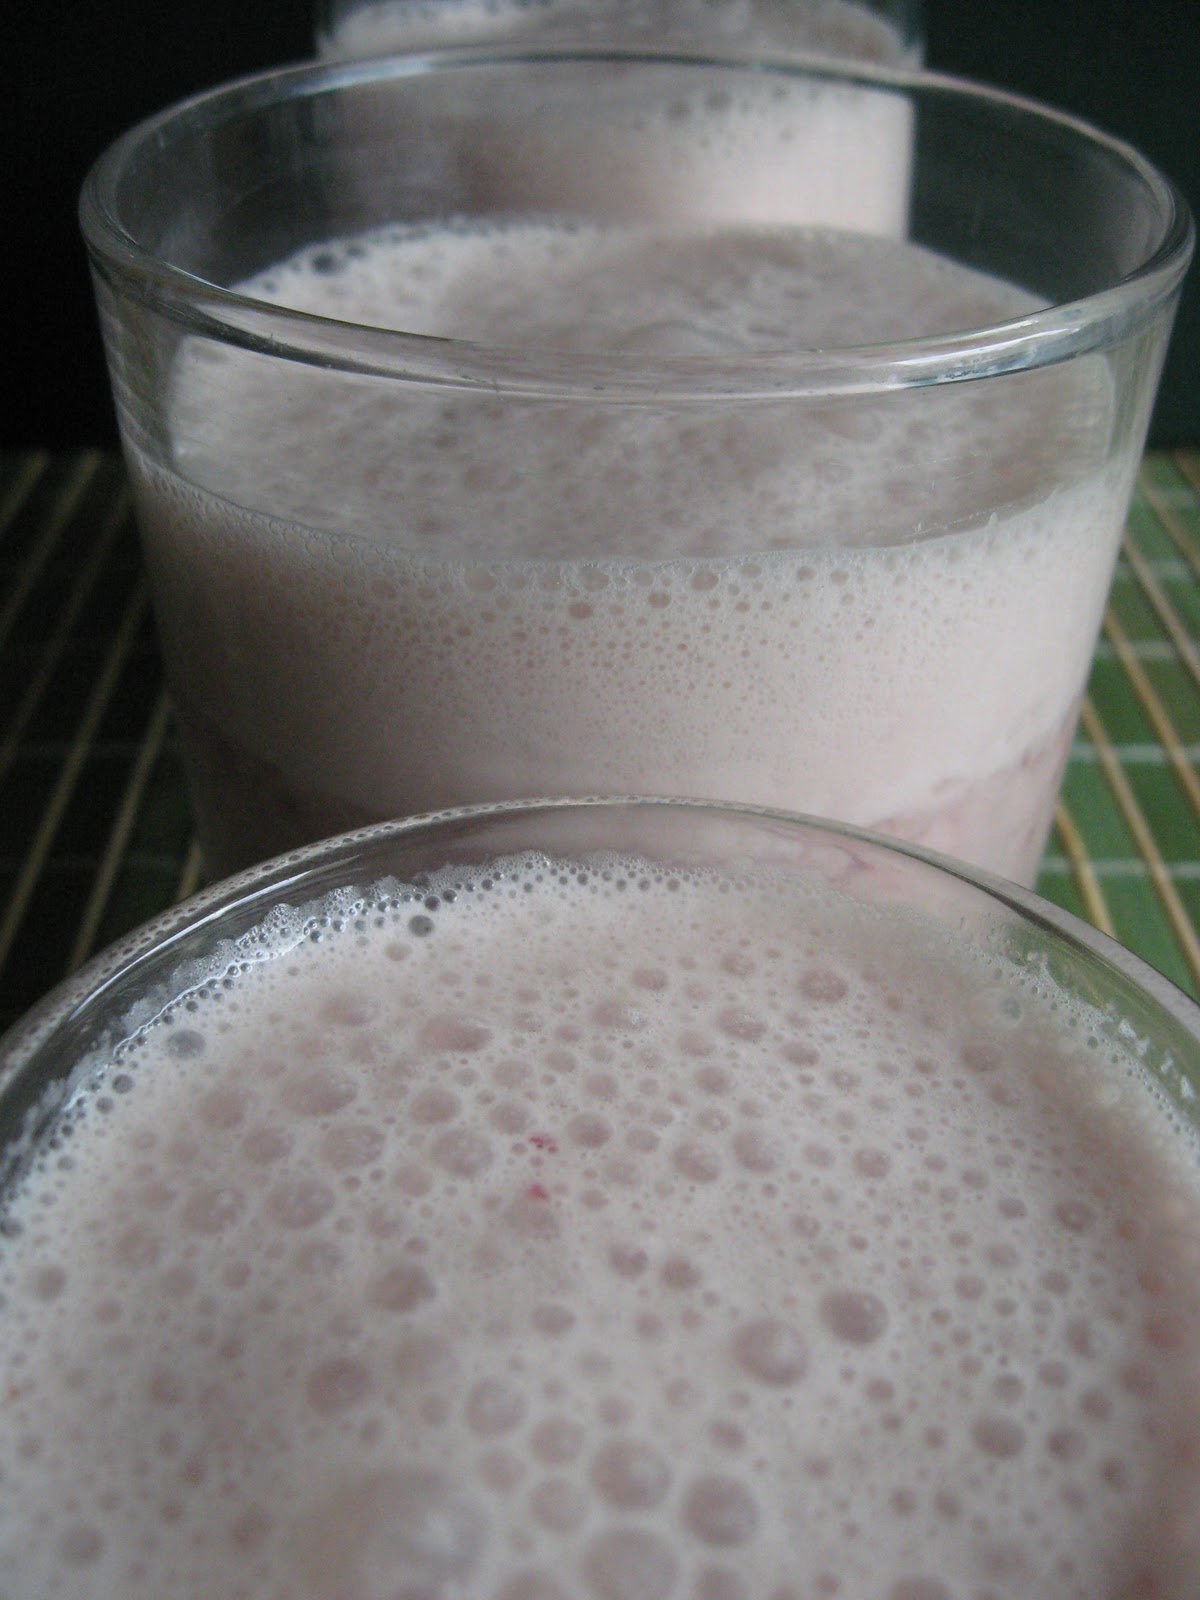
This drink is a perfect vegan smoothie because it is 100% dairy free yet still remarkably creamy.

I used almond milk, which was surprisingly delicious and contains zero lactose or cholesterol. You can buy almond milk from the supermarket or simply make it yourself with some blanched almonds and water in a blender.

The almond milk shouldn’t be pre-sweetened because this will be done by the cherries and the almond syrup.

It’s a very rich shake, so you don’t want too much, and it’s quite elegant and adult in its flavours.


Cherry Almond Shake

Anna’s very own recipe. Serves 2.

Ingredients:
24 pitted cherries
¼ cup (60ml) almond syrup (orzata/orgeat), or to taste
2 cups (500ml) almond milk, chilled
3 cups crushed ice

Method:

1. Blend cherries, almond milk and ice.

2. Add almond syrup for desired sweetness.

Note: add a shot of amaretto for some alcohol action!


Saturday, 25 December 2010

wild hibiscus flowers in syrup

Merry Christmas!

I’m trying hard not to be a little sad this Christmas, but there are four people snowed in on the other side of the world who were supposed to be here with us today.

Jonas’ elder brother (David), sister (Helena), brother-in-law (Christian) and niece (Chloe) were due to arrive on Wednesday morning and instead (because London and Frankfurt don’t know how to handle a little snow) they’ll miss this very special Christmas we had arranged for them.

On the up side, my lovely brother and his family drove down from the Gold Coast to join us and that’s one big positive.

Jonas and his crew will just have to wait a few more days for their own sweet reunion.

~ ~ ~

To celebrate Christmas, I’m sharing this very festive recipe that’s actually perfect for any special occasion.

Admittedly, fresh rosellas (wild hibiscus flowers) are hard to get your hands on but, if you can, the delicious syrups and jams they produce is worth the hard yards tracking them down.

These flowers and a splash of their syrup are perfect for adding to a glass of bubbly (I had them as an aperitif at my wedding), or equally wonderful with soda water, as a topping to vanilla yoghurt or perched on a cheesecake.

And for those who can’t get these pretty little flowers to poach them yourselves, there are some great websites that ship jars of the flowers in syrup.
USA 
Europe 
Australia/NZ 

This recipe comes from a beautiful and truly interesting cookbook about native Australian ingredients called Wild Food. If you're curious about the amazing fruits, herbs and spices that Australia has given to the world, you might want to check it out.


Wild Rosella Flowers in Syrup

Recipe from Wild Food by Juleigh Robins. Makes 40.

Ingredients:
2 cups cold water
2 cups caster sugar
2 cups wild rosellas, chopped
40 wild rosella flowers, whole

Method:

1. Place the water, sugar and chopped wild rosella in a wide stainless-steel saucepan over medium heat.

2. Bring to the boil, then reduce the heat and simmer gently until the volume of liquid has reduced by a third.

3. Remove from the heat and strain to remove the solids.

4. Return to the pan, add the flowers and bring to the boil.

5. When it starts to bubble, remove from the heat and pour into sterilised jars.


Saturday, 4 December 2010

pecan maple granola


This homemade granola and vanilla poached pears were part of a truly inspired breakfast, eaten with wonderful people in a beautiful location.

We made this for Lynn and Chris when we visited their beautiful property in Robertson, in the Southern Highlands of New South Wales (NSW being a state of Australia, for the uninitiated).


The weekend was so relaxing. Despite the cold and rain we rugged up in gumboots and drizabones and traipsed through the muddy fields, splashing through the puddles and catching yabbies from the gushing creek. In the evening it was good food, great conversation, red wine, a book or sudoku and a cosy chair by the fire. Bliss.

In return for kindly hosting us for the weekend (with sisters Stinky and Shamu and their partners M.E. and Tombolina), everyone was tasked with a meal to make and we draw the brunch card on Sunday morning. Jonas and I made cheese and chive scrambled eggs, smoky bacon and sumac fried tomatoes. Next on the menu were guava and sparkling rosé breakfast cocktails and these pots of pecan maple granola with poached pears and maple mascarpone.


The Guava & Sparkling Rosé Breakfast Cocktail is a very simple thing to make. Just top off a nice glass of sparkling rosé with fresh, pink luscious guava juice. Done.

While the poached pears and maple mascarpone were lovely, the granola was the real star.

The pecans roasted into the perfect texture, the maple gave a rich caramelised sweetness and the overall combination was elegant and delicious. A perfect breakfast on a perfect weekend.

It was so good that M.E. and I managed to sneak quite a bit of granola before we served it.


This was the first time I’ve made granola and I was surprised at just how easy it is to prepare and how much tastier homemade granola can be.

This Americana version, using pecans and maple syrup, really hit the spot for me and I’ll be making it again for sure, but I’ve been inspired to try out more granola concepts. Other flavour combinations I’ve been considering are peanut & honey; apricot, pistachio & pine nut; chocolate & orange; pumpkin & cinnamon; cherry & almond; coconut & banana; and fig & hazelnut.

Mmmmm. Granola.


Maple Pecan Granola

Anna’s version of Andrea’s recipe. Serves 6.

Ingredients:
2 cups whole rolled oats
1 cup pecan pieces
¼ cup pumpkin seeds
¼ cup packed dark brown sugar
¾ cup maple syrup
2 tablespoons canola oil
Pinch of salt
Pinch of cinnamon

Method:

1. Preheat oven to 110°C.

2. In a large mixing bowl, stir together the oats, pecan pieces, pumpkin seeds, salt, cinnamon and brown sugar, breaking up the sugar lumps.

3. Add the oil and maple syrup and stir until everything is well coated.

4. Spread on a baking sheet covered in baking paper.

5. Bake for up to 1 hour (or until golden brown), stirring every 10 minutes.

6. Cool completely, break into chunks and store for up to a week in an airtight container.

Note: Great with thick vanilla, honey or cinnamon yoghurt; sweetened mascarpone; poached fruit or simple milk.


Vanilla Poached Pears & Maple Mascarpone

Anna’s very own recipe. Serves 6.

Ingredients:
2 cups water
1 cup sugar
1 vanilla pod
6 pears, peeled, cored & quartered
2 tablespoons maple syrup
250g mascarpone

Method:
1. Combine water and sugar in a saucepan.

2. Halve vanilla pod, scrape out seeds and add both seeds and pod to saucepan.

3. Turn heat to medium and stir, dissolving sugar.

4. Once sugar is dissolved, add pears and simmer until soft (around 10 minutes).

5. Cool pears in syrup. Refrigerate until needed, but bring to room temperature before serving.

6. Combine the maple syrup and mascarpone. Serve strained pears with  mascarpone (and granola).


Saturday, 20 November 2010

quince spoon sweets


Spoon sweets are wonderful morsels of jammy goodness served all over the Balkans, Middle East and parts of Russia.

In the old days a woman’s variety of spoon sweets was a sign of her hospitality, something sweet and delicious to serve her guests while they drank tea.

Most usually spoon sweets are made from fruit, with bitter and sour varieties being the most prized. I suppose that’s because it took a lot more sugar to get them tasting good, and sugar was an expensive commodity.

Common spoon sweets include seedless grapes, bergamot, sour cherries, kumquats, pomegranate, figs, green walnuts, watermelon rind, cherry tomatoes, eggplant and rose petal.

And of course, quince.


The traditional way to serve them is to the preserve is packed onto small teaspoons and served in porcelain or crystal dishes with coffee and tea.

These days they have other uses too, such as ice cream topping, on bread or as an accompaniment to cheese.

Luckily for me, my quince spoon sweet (based on Greek recipes) turned out perfectly chewy and aromatic, the elegant flavour of quince taking centre stage.

Highly recommended to just eat from the spoon, but I use it for cheese boards and as a breakfast jam too.

Kythoni Xysto (Quince Spoon Sweets)

Anna’s recipe based on this and this.

Ingredients:
4 quinces
3 cups water
¼ cup lemon juice
2 strips lemon peel
4 cups sugar
1 cinnamon quill
3 tablespoons flaked almonds, toasted (optional)

Method:

1. Wash quinces and scrub off brown fuzz.

2. Bring the water to a boil.

3. Grate, with peel still on, discarding the cores.

4. Add grated quince, lemon peel and juice to boiling water. Return to boil.

5. Reduce heat and simmer until the quince is soft (10-20 minutes).

6. Turn heat to high, add sugar, dissolve and bring to a boil.

7. Lower heat to medium and simmer rapidly until jam deepens in colour and firms to jelly when drizzled on a cold saucer (about 40 minutes).

8. If using almonds, stir in now and boil 1 minute longer.

9. Ladle into sterilised jars and seal.

Monday, 18 October 2010

ottolenghi's radish & broad bean salad


Ali Beggs texted me last night to say I must be reading her mind.

First she was after a banana cake recipe, and I posted my banana bread on the blog.

Next she was planning dinner at Efendy, and I had posted my glorious Let’s Do Brunch experience.

She was starting to wonder what was going on, so she texted me to double check I wasn’t cooking broad beans too . . .

Well, now that you mention it . . . . .

This happens to be one of the best salads I’ve eaten in a long time and it comes from my favourite cookbook of the moment, Ottolenghi.

The recipes inside this book are so special. The ingredients are (mostly) easy to find and cheap to buy yet the way they’re put together and the flavours that surround them seem fresh and vibrant and unique.

This salad is a perfect example, using common ingredients in a unique combination which (most importantly!) tastes delicious.

Please do try it.

You too Ali Beggs!


Radish & Broad Bean Salad w Green Tahini Sauce

Recipe by Yotam Ottolenghi. Serves 4.

Ingredients:
500g shelled broad beans, fresh or frozen
350g small radishes
½ red onion, very thinly sliced
2 tablespoons finely chopped coriander
30g preserved lemon, finely chopped
Juice of 2 lemons
2 tablespoons chopped flat-leaf parsley
3 tablespoons olive oil
1 teaspoon ground cumin
4 thick pita breads
Salt and black pepper
200ml Green tahini sauce (see below)

Method:

1. Place the broad beans in a pan of boiling water and simmer for 1–2 minutes, depending on size.

2. Drain through a large colander and rinse in plenty of cold water to refresh them. Remove the beans from their skins by gently squeezing each one with your fingertips.

3. Cut the radishes into 6 wedges each.

4. Mix with the broad beans, onion, coriander, preserved lemon, lemon juice, parsley, olive oil and cumin. Season with salt and pepper to taste.

5. To serve, pile a mound of salad in one corner of each serving plate, pour the tahini sauce into a small bowl and stand it next to the salad. Serve with pita bread.

Note: you can see from our photos we decided to add some spring peas too.


Green Tahini Sauce

Ingredients:
150ml tahini paste
150ml water
80ml lemon juice
2 garlic cloves, crushed
½ teaspoon salt
30g flat-leaf parsley, finely chopped if making by hand

Method:

1. If using a food processor or a blender, process together all the ingredients except the parsley until creamy and smooth. If it is too thick, add more water. Add the parsley and turn the machine on again for a second or two. Taste for seasoning.

2. If making by hand, thoroughly whisk the tahini, water, lemon juice, garlic and salt together. Stir in the chopped parsley, then taste and add more salt if needed.

This is my contribution to Weekend Herb Blogging, this week hosted by Chris from Mele Cotte.

Related Posts with Thumbnails